Enroll in Payments Using the Desktop app
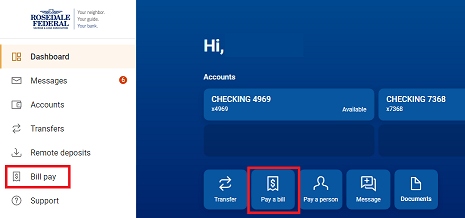
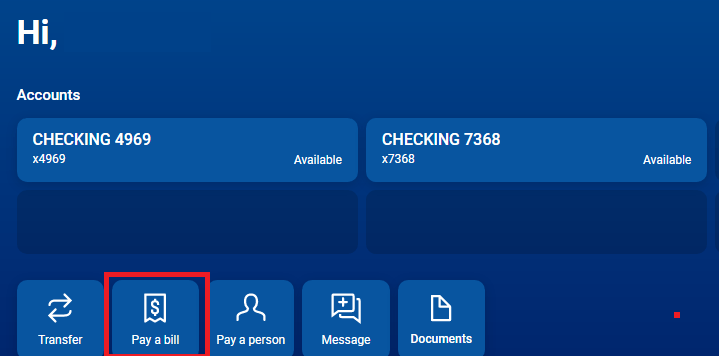
Enroll in Bill Pay on the desktop app. Select “Bill pay” on the left side of the screen.(You can also select “Pay a Bill” from the Payments card on the dashboard.)
Adding Payees
Mobile App
Select “Pay”, then tap the “+” to the right of “Select payee.

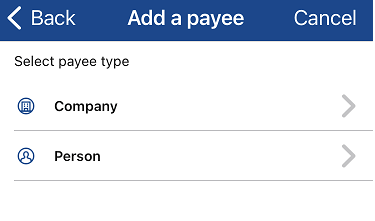
Select whether the new payee is a company or a person to continue.

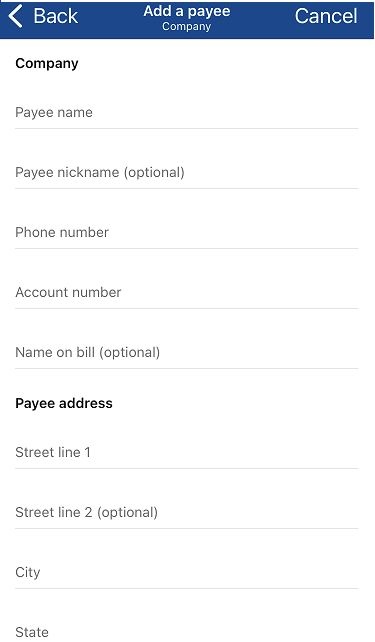
Add a company
Enter the payee’s information to add them to the Payments system.
Add a person
Select person as the type of payee.
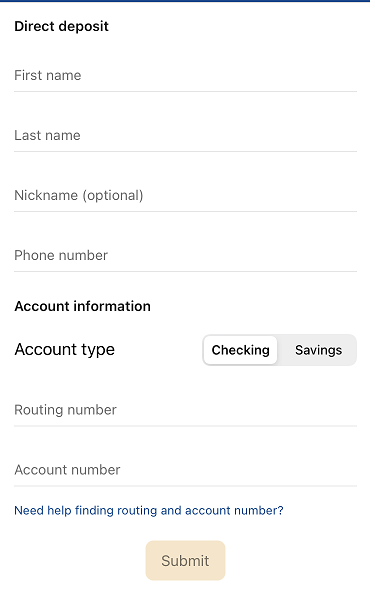
Select which payment method you would like to use.
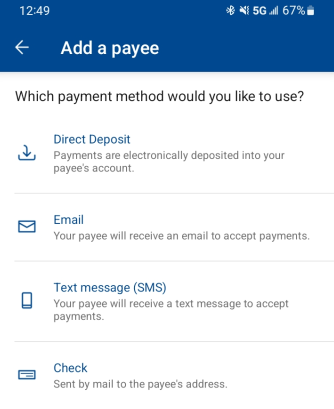
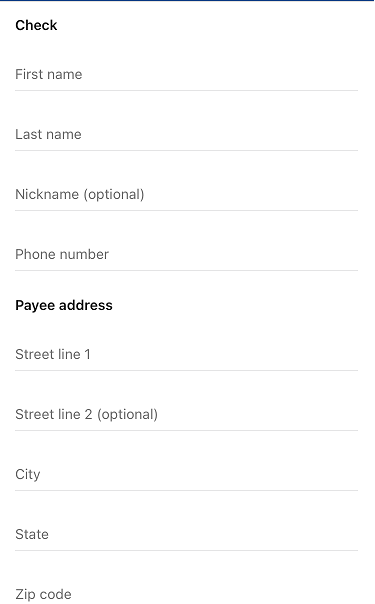
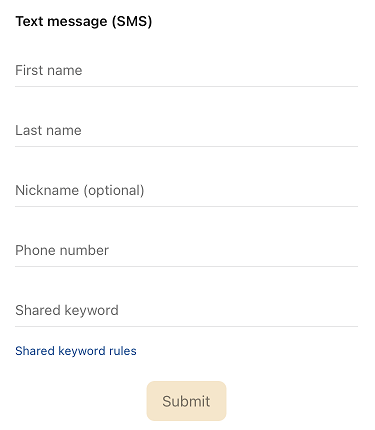
Enter the payee’s information and tap “Submit”. Here are screenshots for each method of payment.

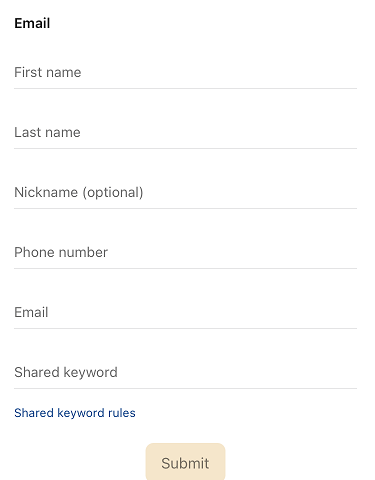

After you submit this information, the payee will receive an email with instructions for setting up their account for receipt of the funds you are sending to them. If you select email or text as the method of payment, you will have to share the keyword created with the person receiving the funds.
Pay a Bill (company)
Select “Pay a Bill”
Select “+Add another bill”
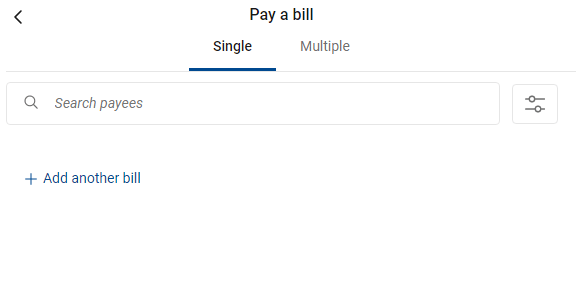
Enter the payee’s information to add them to the bill pay system.
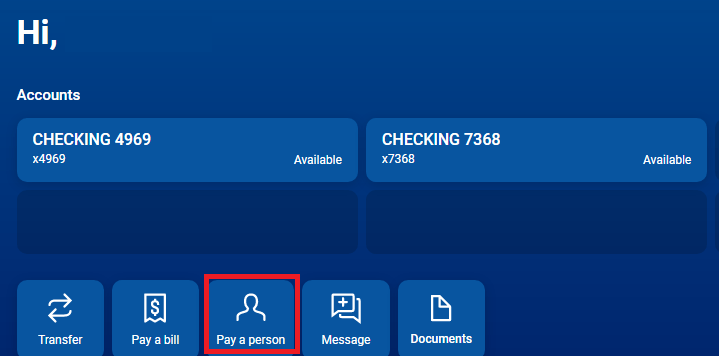
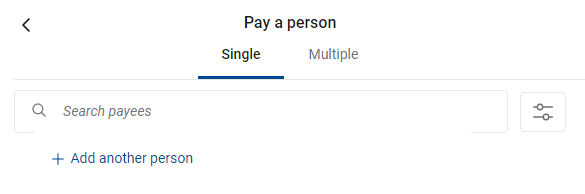
Pay a person
Select “Pay a person“
Select “+Add another person”
Select which payment type you would like to use.
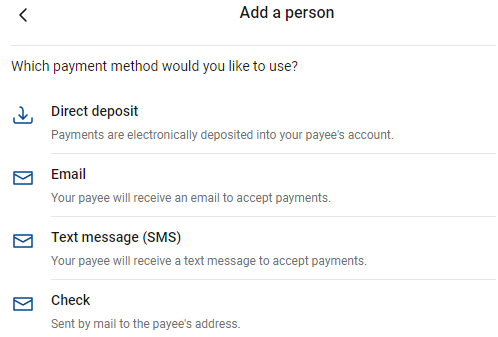
Enter the payee’s information and tap “Submit”. Here are screenshots for each method of payment.


After you submit this information, the payee will receive an email with instructions for setting up their account for receipt of the funds you are sending to them. If you select email or text as the method of payment, you will have to share the keyword created with the person receiving the funds.
Mobile app
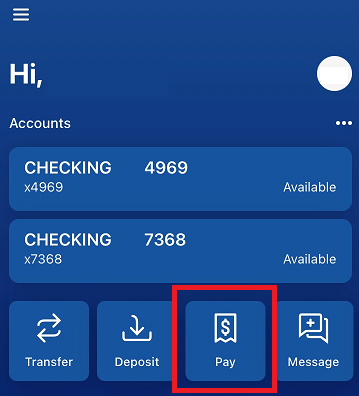
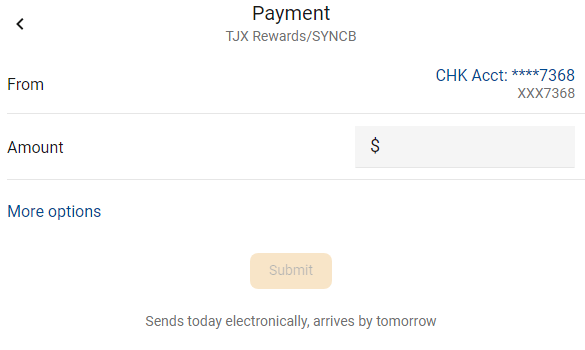
Select “Pay”.
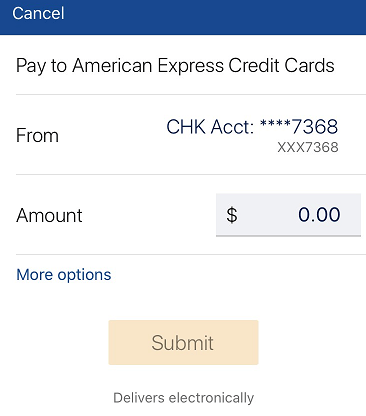
Select the payee you want to pay. Then, select the account you’d like to pay from and enter an amount. You can select “More options” to choose a date, frequency, and make a note about the payment. Then press “Submit” to schedule your payment.
Desktop
Select “Bill Pay” on the left side of the screen.
Select the payee you want to pay. Then select the account you’d like to pay from, and enter an amount. You can select “More options” to choose a date, frequency, and make a note about the payment. Then press “Submit” to schedule your payment.
Mobile App
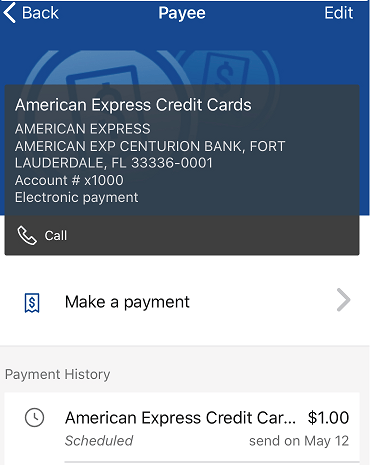
From the main menu, select “Pay”(You can also select “Pay” in each account card, or view scheduled payments in the payments card on the dashboard.)
Select the payee and find the scheduled transaction under “Payment History.” Then choose the payment you’d like to edit.
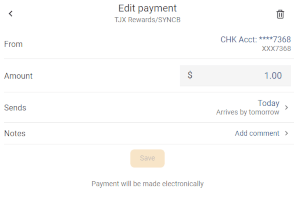
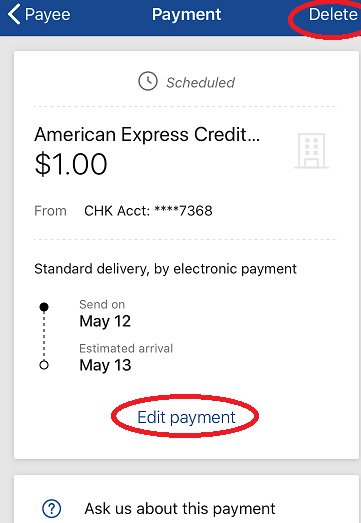
Select “Edit Payment” to make changes. From this screen, you have the ability to delete payments in the upper right-hand corner.
Desktop
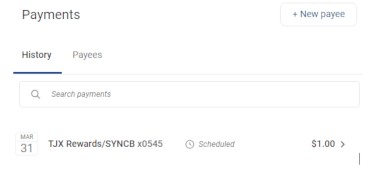
Find the Bill Pay card on the dashboard and click on the scheduled payment you’d like to edit.
Select “Edit” to make changes. From this screen, you also have the ability to delete payments in the upper right-hand corner.